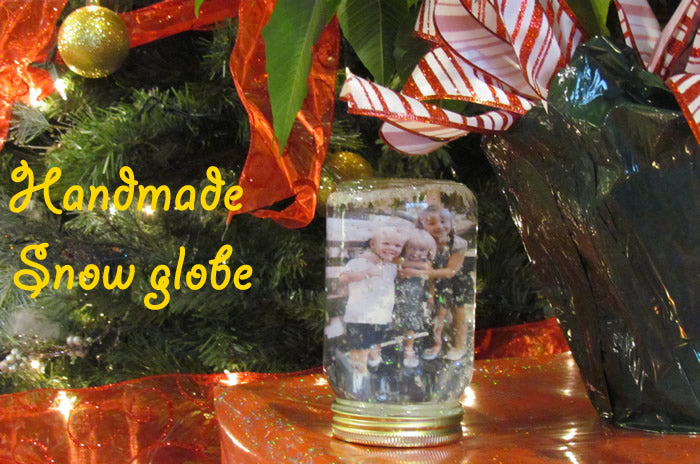
Kids love to create and give gifts at the holidays. These snow globes are perfect to give to cousins, aunts & uncles or teachers. With a little adult assistance, they can create their snow globes with the following materials:
- Glass jar with lid (our jar was 3 inches in diameter and 5 inches tall, but you could also use use empty baby food jars!)
- Photo
- Glycerin
- Water
- Glitter
- Scissors
- Glue
- Clear contact paper
- Scrapbook paper (optional)
1. Trim your photo to the desired size. We found that a vertical photo around the size of 4×5 works best with the jar we used. If desired, cut a piece of scrapbook paper to match the size of your photo. We chose to do this so the back side of the snow globe is festive.
2. Cut 2 pieces of contact paper that at least 1/4″ bigger than your photo on each side. Lay the sticky side of the contact paper onto your photo. Be sure to remove air bubbles by using a sturdy object, like a phone.
3. Flip the photo over and lay the scrapbook paper design side up on top of the photo.
4. Lay the sticky side of the contact paper onto the designed side of your paper and remove the bubbles. Trim the excess contact paper from the photo leaving 1/16″ around the edge.
5. Place the photo into the jar upside down and use a dab of glue to attach it to the inside of the jar.
6. Pour 3 oz of glycerin into the jar and fill the rest of the jar with water. Then, sprinkle your glitter into the jar.
7. Put some glue on the inside of your lid and attach the lid of the jar. Make sure you have a tight fit.
Now it’s time to shake the snow globe to make it snow! Kids will have a blast looking at it snow around their picture, especially if you live in a warm climate!
